
How to Bill a Client (Even the First Time): Steps + Free Invoice Tool
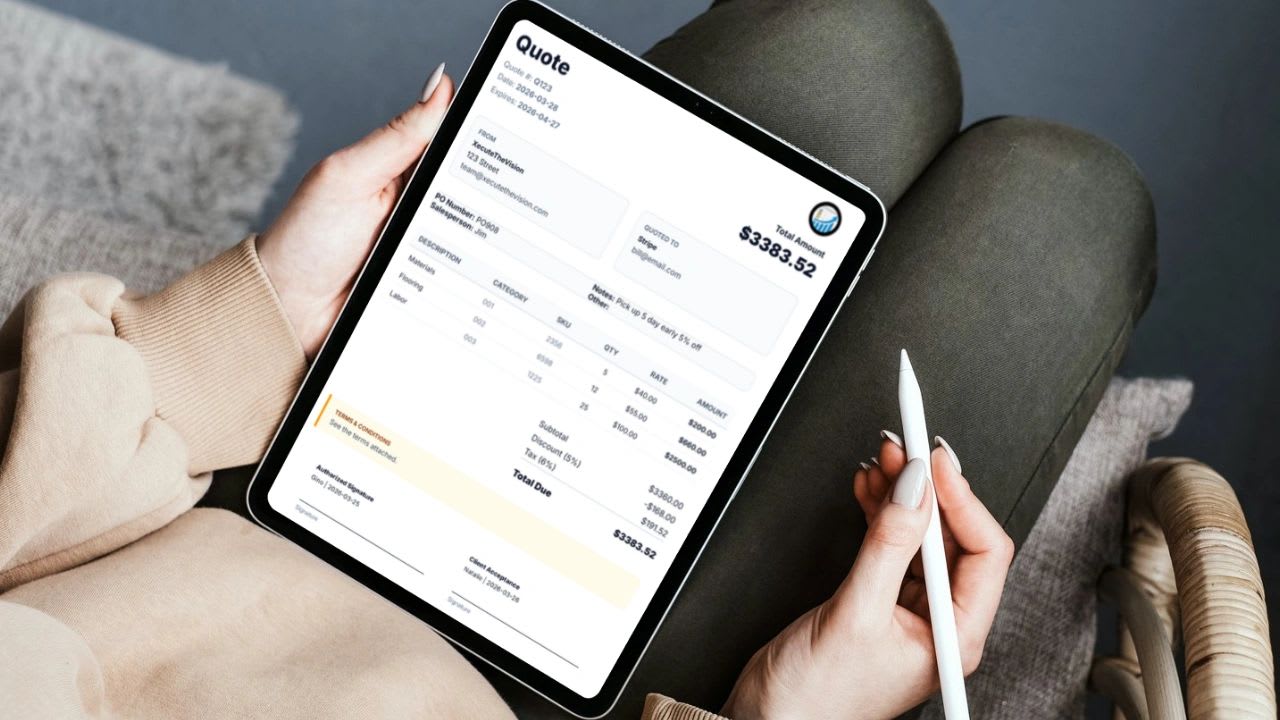
How to bill a client for the first time is a question almost every new business owner asks, usually right after finishing the work and realizing they never talked about payment details.
That first invoice is the moment a side project becomes a real business. It can feel awkward. But if you do not bill clearly and confidently, you invite confusion, delays, and sometimes unpaid work.
Below is a step-by-step process for billing a client the first time: setting expectations, picking a billing method, tracking your work, building the invoice, sending it, and following up. There is also a free invoice builder and ready-to-use reminder emails.
Why First-Time Billing Matters More Than You Think
The first invoice you send sets the tone for the entire client relationship. Before a client has judged the quality of your work over months, they judge the invoice, and it tells them a lot in a single page. It shows how professional you are, how organized your business is behind the scenes, and how seriously you take getting paid. A clean, specific invoice that arrives on time says you run a real operation. A vague one that shows up weeks late says payment is optional.
Clients tend to mirror whatever behavior you model. If you are vague, late, or inconsistent with your billing, they will be just as relaxed about paying you, and your invoice drifts to the bottom of their accounts payable pile. If you are clear, structured, and confident, most clients respond in kind and respect your process, because you have made it easy for them to do the right thing.
That is why it helps to think of the first invoice as more than a request for money. You are not just sending a document. You are establishing the system every future invoice will follow, and it is far easier to set that system up correctly now than to fix sloppy habits with a client who has already learned that your due dates are flexible.
Step 1: Set Billing Expectations Before You Start Work
Most billing problems do not come from the invoice itself. They come from expectations that were never set before the work started. When a client is surprised by the total, the timing, or the payment method, the real mistake happened weeks earlier, when nobody wrote down how billing would work.
Before any work begins, agree on four things. The first is your pricing model, whether that is hourly, a fixed price, a monthly retainer, or payments tied to milestones. The second is your payment terms, such as Net 7, Net 15, or Net 30, which tell the client how many days they have to pay after the invoice date. The third is whether you require a deposit, and how much. The fourth is scope: what is included in the price and what counts as extra work that will be billed separately.
The difference between a vague expectation and a clear one is often a single sentence. Telling a client "I charge $75 an hour" leaves plenty of room for surprises. Telling them "My rate is $75 per hour. I track time weekly and invoice every Friday. Payment terms are Net 7" answers the questions they would otherwise ask later, when the invoice is already sitting in their inbox. That level of clarity removes friction before it ever has a chance to start.
Put these details in writing, even if it is only a short email the client replies "agreed" to. A simple written agreement protects both sides and gives you something to point to if questions come up later. If you ever need to send a firm reminder or apply a late fee, being able to say "as we agreed on the fifth" turns an awkward conversation into a routine one.
Step 2: Choose the Right Billing Method
There are four common ways to bill clients, and the right one depends on the kind of work you do and how predictable it is. Many businesses use more than one, for example charging a fixed price for a defined project and an hourly rate for anything outside that scope. Picking the method deliberately, instead of defaulting to whatever the client suggests, makes every invoice after it easier to write and easier to defend.
Hourly Billing
With hourly billing, you track your time and bill for the hours you actually worked, multiplied by your rate. It is the natural fit for ongoing work, consulting, and support services, where the amount of work is hard to predict up front and the client is effectively buying your availability. The risk is that clients may question the hours if your tracking is unclear, so hourly billing only works well when you can show exactly what each block of time was spent on.
Fixed Price Billing
Fixed price billing means charging one set amount for a clearly defined scope of work. It suits projects with clear deliverables, such as a website design, a software implementation, or a finished set of documents, and clients often prefer it because they know the cost before they commit. The risk is scope creep. If the boundaries of the project are not written down, small requests pile up until you are doing far more work for the same price.
Retainer Billing
A retainer is a recurring fee, usually monthly, that the client pays for ongoing access to you or for a set amount of work each period. It works best with long-term clients, advisory roles, and monthly service packages, and it gives you predictable income that makes planning much easier. The catch is that you must define exactly what the retainer includes, such as a number of hours or deliverables per month, or clients will reasonably assume it covers everything.
Milestone Billing
Milestone billing splits a project into stages and bills at each one, for example a portion at kickoff, another when the design is approved, and the rest at launch. It is the common choice for large, multi-phase projects where waiting until the very end to get paid would strain your cash flow. The risk is the opposite problem: if milestones are spaced too far apart, you can still go long stretches doing work without income, so set them close enough together to keep money coming in.
The table below puts the four methods side by side so you can compare how each one bills, where it fits best, and what to watch for.
| Method | How You Bill | Best For | Main Risk |
|---|---|---|---|
| Hourly | Hours tracked x rate | Ongoing work, consulting, support | Clients question hours if tracking is unclear |
| Fixed price | One set price for a defined scope | Projects with clear deliverables | Scope creep |
| Retainer | Recurring monthly fee | Long-term clients and advisory work | Unclear limits on what is included |
| Milestone | Payments at project stages | Large, multi-phase projects | Cash flow gaps between milestones |
Step 3: Track Your Work Properly
If you cannot track your work, you cannot justify your invoice. This is where most people fall down on their first few invoices. They rely on memory or rough estimates, write down a number that feels about right, and then hesitate when the client asks what it covers. An invoice built on guesswork is hard to send with confidence and even harder to defend.
Good tracking captures four things for every piece of work: how much time was spent, what task was completed, the date it was done, and which project or job it belongs to. That record is essential for hourly billing, where the hours are the invoice, but it matters just as much for fixed-price and milestone work, because it shows you whether the price you quoted actually covered the effort and helps you quote better next time.
A system like Updoot handles this by tracking time for you or your team, assigning each block of hours to a project, job, or location, and keeping a record of exactly what work was done. Because that data feeds directly into your invoices, the numbers on the invoice match the numbers in your records, which eliminates guesswork and builds trust with your client. When a client asks what they are paying for, you can show them in seconds.
Good records also help at tax time. The IRS guide to starting a business and keeping records explains which income records to keep and for how long, and an organized billing history makes that requirement easy to meet.
Step 4: Create a Professional Invoice
Your invoice should be simple, clear, and structured, with nothing on it that does not help the client understand what they owe and how to pay it. A professional invoice does not need fancy design. It needs to answer every question before the client has to ask.
At the top, include your business name and contact information and the client's name and contact information, so there is no doubt who is billing whom. Give the invoice a unique invoice number, the date you are issuing it, and the date payment is due. In the body, describe each service clearly, then list the quantity or hours, the rate, and the amount for each line, followed by the total amount due. Finish with payment instructions that tell the client exactly how to pay you, whether that is ACH, card, or check, along with any details they need to do it.
Example Line Item
Here is what a clear line item looks like. Notice that the description says what was actually done, so the client can connect the charge to work they recognize.
| Service Description | Hours | Rate | Total |
|---|---|---|---|
| Website design updates: home page layout and contact form | 10 | $75/hour | $750 |
Clarity is everything. Avoid vague descriptions like "work completed" or "services rendered," which force the client to guess and give them a reason to delay payment while they ask. For more on layout, fonts, and branding, see how to make your invoices look professional.
Free First Invoice Builder
Free First Invoice Builder
Fill in your details and add each service as a line item. The builder totals everything, calculates the due date from your payment terms, and checks that nothing important is missing. Print it or copy it into Excel. Nothing you enter is saved or sent anywhere.
Line Items
| Description | Qty | Rate | Amount |
|---|
Step 5: Add Clear Payment Terms
Never assume clients know when to pay you. Even if you discussed it at the start of the project, the invoice itself should spell it out, because the person who pays the bill is often not the person you talked to. Payment terms written on the invoice are what accounts payable teams actually follow.
Always include the actual due date, not just the Net terms. "Net 15" asks the client to do math, while "Due March 18" does not, so show both if you like but never leave the date off. List the payment methods you accept so the client does not have to write back and ask. If you have agreed on a late payment policy, state it plainly as well. A line such as "Payment due within 7 days of invoice date. Late payments may incur a 5 percent fee" removes ambiguity and gives you leverage if payment is delayed, as long as the client agreed to it before the work began.
The table below explains the most common payment terms you will see and use.
| Term | What It Means |
|---|---|
| Due on receipt | Payment is expected as soon as the invoice arrives |
| Net 7, Net 15, Net 30 | Payment is due 7, 15, or 30 days after the invoice date |
| 50% upfront | Half is paid before work starts, the rest on completion |
| Late fee | A charge added when payment is late, if agreed in advance |
Step 6: Send the Invoice the Right Way
Do not just attach an invoice to a blank email and hope for the best. A short, clear message makes it obvious what the attachment is, what it covers, and when payment is due, and it makes the invoice easy to find later when the client searches their inbox. It also gives the client an easy opening to ask questions now, rather than sitting on the invoice because something was unclear.
A good invoice email has a subject line with the invoice number and project, such as "Invoice #001, Website Project," so it stands out and can be searched. The body can be just a few sentences. Greet the client by name, say that the invoice for the completed work on their website updates is attached, invite them to reach out with any questions, and restate the payment due date. Then sign off with your name. That is all it needs to be: short, professional, and direct.
Send the invoice as soon as the work, milestone, or billing period is complete. The sooner it arrives, the more closely the client connects it to the value they just received, and the sooner the payment clock starts running.
Step 7: Follow Up Without Hesitation
If a client does not pay on time, you follow up, and you do it promptly. Waiting weeks in the hope that payment will simply appear rarely works, and every week you wait makes the conversation more awkward, not less. Late payments are usually a sign that your invoice slipped through the cracks, not that the client refuses to pay, and a timely reminder is often all it takes.
A simple timeline keeps your follow-up consistent. Send a friendly reminder the day after the due date. If there is still no payment, send a second reminder three to five days later that notes the invoice is past due and asks the client to confirm when payment will be sent. If another seven to ten days pass, send a firm message that refers back to the terms you agreed on, including any late fee, and asks for a payment date.
Most people avoid this step because it feels uncomfortable, and that is exactly why they struggle with cash flow. Following up is not rude. You did the work, the client agreed to pay for it, and reminding them is a normal part of running a business. You are running a business, not doing favors. The three emails below are ready to copy and adapt.
FIRST REMINDER (day after the due date)
Subject: Friendly reminder: Invoice #[number]

Hi [Client name],

Just a quick reminder that invoice #[number] for [amount] was due on [date]. I have attached it again for convenience. Please let me know if you have any questions.

Thank you,
[Your name]


SECOND REMINDER (3 to 5 days later)
Subject: Invoice #[number] is now past due

Hi [Client name],

I wanted to follow up on invoice #[number] for [amount], which is now [X] days past due. Could you confirm when payment will be sent? You can pay by [payment methods].

Thank you,
[Your name]


FIRM FOLLOW-UP (7 to 10 days later)
Subject: Action needed: Invoice #[number]

Hi [Client name],

Invoice #[number] for [amount] is now [X] days past due. Per our agreed terms, [late fee or next step] will apply if payment is not received by [date]. Please reply today with a payment date.

Thank you,
[Your name]
Step 8: Automate as You Grow
Handling billing by hand works when you have one or two clients. As your business grows, the manual approach starts to crack. You end up tracking time in one app, managing projects in a spreadsheet, and building invoices from scratch in a third tool, copying numbers between them and hoping nothing gets missed along the way.
A growing business needs time tracking that happens automatically, project data kept in one central place, invoices that can be generated in a click, and reporting that shows what is billed, paid, and overdue. When those pieces live in separate tools, every invoice is a small data entry project, and every data entry project is a chance for errors that delay payment.
This is where a tool like Updoot becomes powerful. Instead of juggling separate systems, your team tracks time from a dashboard or a kiosk, assigns those hours to jobs or projects as they work, and generates an invoice with a single click when the billing period ends. The hours on the invoice are the hours in your records, and nobody has to re-type anything. That is how you move from chaos to control.
Common First-Time Billing Mistakes
A handful of mistakes account for most of the money new business owners lose on billing. Each one is easy to avoid once you know to look for it.
1. Being Too Vague
An invoice that just says "work completed" is not acceptable. The client cannot tell what they are paying for, so they either pay reluctantly or, more likely, set the invoice aside until they have time to ask. Break down what was done, line by line, in words the client will recognize.
2. Waiting Too Long to Invoice
If you wait weeks after finishing the work to send the invoice, clients naturally deprioritize it. The value you delivered feels older, the budget may have moved on, and your payment lands behind more recent bills. Invoice immediately when the work or billing period is done.
3. Not Setting Terms
If you never defined payment terms, you have no leverage when payment is late. You cannot point to an agreed due date or late fee that does not exist. Set the terms before the work starts and repeat them on every invoice.
4. Undercharging or Discounting Too Early
Many first-time business owners discount their work before the client has even asked, simply out of nerves. Confidence matters. Price your work appropriately, and if you choose to offer a discount, make it a deliberate decision that you show clearly on the invoice rather than a quiet reduction in your rate.
5. Not Tracking Work Properly
If you cannot defend your invoice with records, clients will push back, and you will often end up giving ground. Accurate tracking of time, tasks, and dates is what lets you answer any question about a charge calmly and quickly.
Should You Ask for a Deposit?
For new clients, a deposit is one of the simplest ways to protect your time. Asking for part of the fee upfront confirms the client is committed and covers your early costs if the project stalls. Many service businesses ask for somewhere between a quarter and half of a fixed-price project before starting. When the final invoice goes out, show the deposit as a credit so the client sees exactly what is left to pay. The invoice builder above does this for you.
How to Build a Billing System That Scales
If you want to grow, you need more than a collection of invoices. You need a system, where the information required to bill a client is captured as the work happens instead of being reconstructed at the end of the month.
A strong billing system connects several pieces. Time tracking is tied directly to projects, so every hour lands in the right place. Roles and assignments are clear, so everyone knows who is responsible for what. Tasks carry estimated hours along with start dates and due dates, which lets you compare what you planned with what actually happened. Progress is visible to the whole team, communication about each project lives in one place, and invoicing takes one click because all the data is already there.
When everything is connected, billing becomes easy. Instead of chasing information from people, emails, and spreadsheets, your system already has it, and the invoice is simply a summary of work you have already recorded.
The Shift from Billing to Revenue Control
Billing is not just about getting paid. It is also one of the best windows you have into how your business is actually performing. Every invoice is a record of what you sold, to whom, and how long it took to deliver.
When your billing system is dialed in, you can see which projects are profitable and which ones quietly lose money. You can identify where time is being wasted, forecast revenue from the work already scheduled, and make better pricing decisions based on real numbers instead of hunches. That is the difference between guessing and operating like a real business.
Updoot is business management software that connects time tracking, projects, and invoicing in one place for $5 per user per month, so tracked hours turn into invoices without re-typing.
Final Thoughts
Billing a client for the first time can feel uncomfortable, but it should not be complicated. The process comes down to a few habits: set expectations before you start, track your work properly as you go, send clear and structured invoices as soon as the work is done, and follow up consistently when payment is late. Do those four things and you will get paid faster, with far less stress and far fewer awkward conversations.
If you want to simplify the entire process, platforms like Updoot bring everything into one place. From tracking time to assigning work to generating invoices, it removes the friction that slows most small businesses down, so billing takes minutes instead of an afternoon.
At the end of the day, billing is not just administrative work. It is how your business survives and grows. Treat it that way from your very first invoice, and every invoice after it gets easier.
Opens in Google Drive. View and download for free.
Related Reading
How to Make Your Invoices Look Professional →
Frequently Asked Questions About Billing a Client for the First Time
What should my first invoice include?
Your business name and contact details, the client's name, an invoice number, the invoice date and due date, a clear description of each service, quantity or hours, rate, total due, and how to pay.
When should I send my first invoice?
As soon as the work, milestone, or billing period is complete. The longer you wait, the more likely the client is to put your payment behind other bills.
What payment terms should I use?
Net 7 or Net 15 works well for most small service businesses. Whatever you choose, agree on it before work starts and show the actual due date on the invoice.
How do I follow up on a late invoice?
Send a friendly reminder the day after the due date, a second reminder three to five days later, and a firm message seven to ten days after that, referring to the terms you agreed on.
Should I ask a new client for a deposit?
It is often a good idea for fixed-price or larger projects. A deposit confirms commitment and covers your early costs. Show it as a credit on the final invoice.
How should I number my invoices?
Use a simple sequence, such as 001, 002, 003, and never reuse a number. Consistent numbering makes it easy to track payments and keep tax records.