How to Create an Excel Timestamp
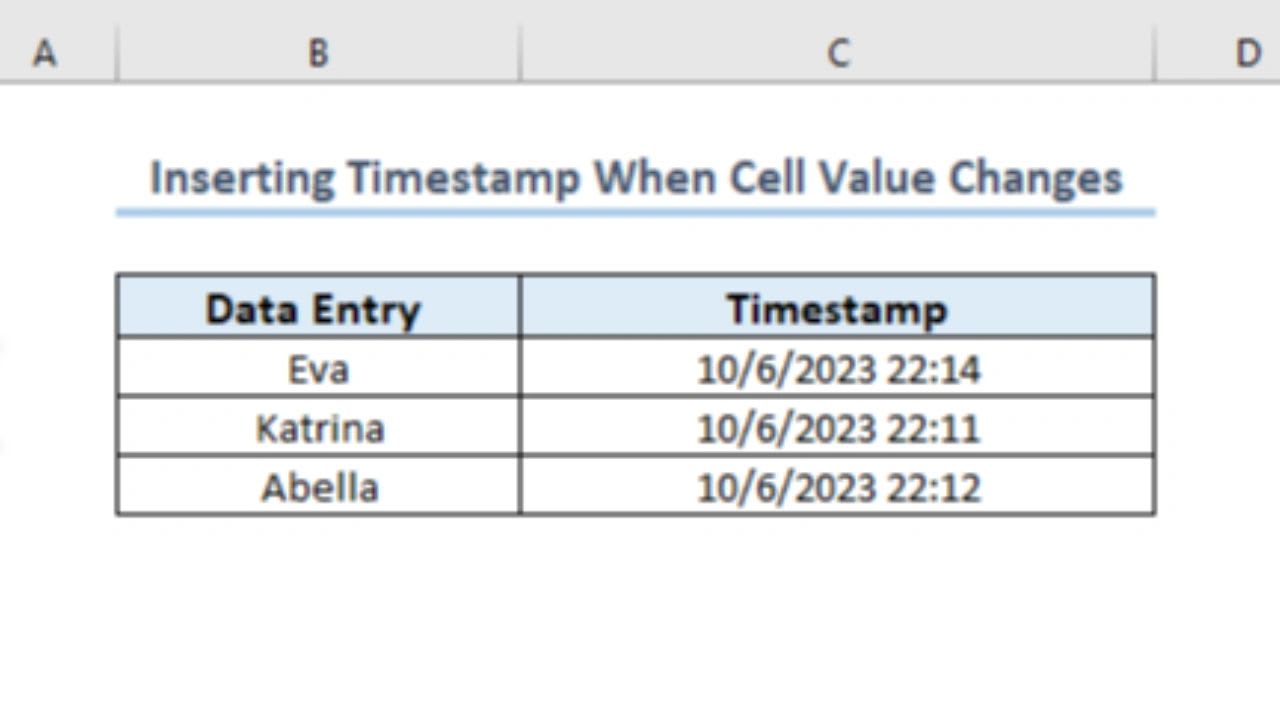
An Excel timestamp records the date and time something happened, such as when a row was entered or a task was completed. Timestamps are an essential tool when you need to track when data was entered or last updated. The challenge is making a timestamp permanent, so it does not change every time the workbook recalculates.
This guide explains why timestamps are useful, why NOW() and TODAY() on their own are not enough, how to create a static timestamp with a formula and iterative calculation, how to stamp a check box, the keyboard shortcuts for one-off stamps, and the trade-offs to know. It also includes a free timestamp formula builder that writes the formula for your columns and lets you test it.
Why Use Timestamps in Excel?
Timestamps are useful in a variety of situations. For tracking data entry, knowing when data was entered or modified can be crucial for auditing and record-keeping. In task management, you can mark when tasks were started or completed. And in project tracking, timestamps help you monitor timelines and deadlines by showing exactly when each step happened.
Excel provides functions like NOW() and TODAY() for the current date and time, but they are volatile: they update every time Excel recalculates. That is useful for a live clock, and a problem when you want to keep the original moment intact.
| Method | Stays fixed? | Automatic? | Best for |
|---|---|---|---|
| =NOW() or =TODAY() | No, updates on every recalculation | Yes | A live clock or "as of today" label |
| Keyboard shortcut | Yes | No, you press it each time | Quick one-off entries |
| Formula with iterative calculation | Yes | Yes | Logs, trackers, and checklists |
| VBA macro | Yes | Yes | Complex rules, shared templates, audit logs |
The Quickest Option: Keyboard Shortcuts
For a one-off timestamp, you do not need a formula at all. In Excel for Windows, press Ctrl+; to enter today's date and Ctrl+Shift+; to enter the current time. For both in one cell, press Ctrl+;, type a space, then press Ctrl+Shift+;. On a Mac, Control+; enters the date and Command+; enters the time.
These entries are plain values, so they never change. The downside is that someone has to remember to press them. When you want the stamp to appear automatically, use the formula method below.
Creating a Static Timestamp Using Iterative Calculation
To create a timestamp that appears automatically and then stays fixed, you can combine a formula with Excel's iterative calculation setting. The formula refers to its own cell, which Excel normally blocks as a circular reference. Iterative calculation allows it, so the cell can remember the value it already holds.
Step 1: Enable Iterative Calculation
Open Excel and go to File, then Options. In the Excel Options window, click Formulas. In the Calculation options section, check the box for Enable iterative calculation. Set Maximum Iterations to 1, so the calculation runs only once per change, then click OK. On a Mac, the same setting is under Excel, Preferences, Calculation.
Step 2: Create the Timestamp Formula
Suppose you want a timestamp in cell C2 whenever a value is entered in cell B2. Enter this formula in C2:
=IF(B2="","",IF(C2="",NOW(),C2))| Part of the formula | What it does |
|---|---|
IF(B2="","" | If B2 is empty, show nothing, which also clears any old stamp |
IF(C2="",NOW() | If B2 has a value and C2 is still empty, stamp the current date and time |
,C2) | If C2 already holds a stamp, return it unchanged, so it never updates |
Format C2 as a date and time, for example with the custom format m/d/yyyy h:mm AM/PM, then fill the formula down as far as you need. For a date without the time, replace NOW() with TODAY().
If you would rather keep the original stamp even when the entry is cleared, use this version instead: =IF(C2<>"",C2,IF(B2<>"",NOW(),"")). Once C2 holds a time, it returns that time no matter what happens to B2.
Step 3: Test the Timestamp
Enter a value in B2, and the current date and time appear in C2. Change the value in B2, and the timestamp in C2 stays the same. Clear B2 completely, and with the first formula the timestamp clears too, so the next entry gets a fresh time. With the second formula, the original stamp remains.
Timestamps With Check Boxes
A popular use is stamping the moment a task is checked off, or when an attendee signs in to an event. Excel's newer check boxes store TRUE when ticked and FALSE when not, so the same approach works with a small change. With the check box in B2, use:
=IF(NOT(B2),"",IF(C2="",NOW(),C2))Tick the box and the time appears; untick it and the time clears. To add the boxes, select the cells and choose Insert, then Checkbox. Our guide to the new Excel check box feature covers them in detail, and this short video shows how to use timestamps with check boxes.
Free Excel Timestamp Formula Builder
Use the builder below to write the timestamp formula for your own sheet. Choose whether any entry or a ticked check box should trigger the stamp, whether you want the date and time or only the date, and whether clearing the entry should clear the stamp. Change the column letters and first row to match your layout.
The try-it table works the same way the formula does in Excel. Type in an Entry cell or tick a box and a timestamp appears; edit the entry and the stamp stays put. Copy to Excel pastes a ten-row tracker with the formulas already filled in, ready for you to turn on iterative calculation and start using. Print gives you the formula and setup steps for reference.
Excel Timestamp Formula Builder
Choose what should trigger the timestamp, whether it includes the time, and whether clearing the entry clears the stamp. The builder writes the formula for your cells and lets you try it below: type in the Entry column or tick a box and watch the timestamp appear and stay put. Copy to Excel pastes a ten-row tracker with the formulas filled in. Nothing you enter is saved or sent anywhere.
Formula for the first row:
Important Considerations for Timestamps in Excel
Iterative calculation affects the whole workbook. Turning it on means Excel will no longer warn you about accidental circular references anywhere in the file. Use it carefully, and keep timestamp workbooks separate from complex financial models where a hidden circular reference would matter. Anyone else who opens the file may also need the setting turned on for the stamps to behave.
Manual edits overwrite the formula. If someone types directly into a timestamp cell, the formula is replaced and that row stops stamping automatically. Locking the timestamp column and protecting the worksheet prevents accidental changes.
Timestamps are only as reliable as the computer's clock. NOW() uses the device's date, time, and time zone, so teams working across time zones should agree on which one counts.
VBA is the alternative for complex needs. If iterative calculation is not acceptable, or you need rules such as stamping every edit to a row, a short VBA macro using the Worksheet_Change event can write a fixed value instead of a formula. It offers more flexibility but requires saving the file as a macro-enabled workbook and some coding knowledge.
Google Sheets works too. The same formula approach works in Google Sheets after you turn on iterative calculation under File, Settings, Calculation.
Summary of Excel Timestamps
Timestamps in Excel are a powerful way to track changes and monitor data. Keyboard shortcuts handle one-off entries, and a formula combined with iterative calculation creates static timestamps that appear automatically and do not change unless you want them to. This method is especially useful in task management, project tracking, and data entry logs where consistency is key.
Just remember to manage how iterative calculation affects your workbook, and consider VBA for more advanced needs. When your timestamped task lists grow into full project tracking for a team, Updoot is business management software that records when work starts and finishes automatically, for $5 per user per month.
Opens in Google Drive. View and download for free.
Related Reading
How to Use the New Excel Check Box Feature →
Understanding Time and Date Excel Functions →
How to Make a Project Progress Google Sheets and Excel Dashboard →
Frequently Asked Questions About Excel Timestamps
How do I create a timestamp in Excel that does not change?
Turn on iterative calculation (File, Options, Formulas), then use =IF(B2="","",IF(C2="",NOW(),C2)) in C2. The stamp appears when B2 is filled and stays fixed after that.
Why does NOW() keep changing in Excel?
NOW() and TODAY() are volatile functions, so they recalculate every time the workbook recalculates. Use the iterative calculation formula or a keyboard shortcut for a fixed timestamp.
What is the keyboard shortcut for a timestamp in Excel?
In Excel for Windows, Ctrl+; enters the current date and Ctrl+Shift+; enters the current time. On a Mac, Control+; enters the date and Command+; enters the time.
How do I add a timestamp when a check box is ticked?
With iterative calculation on and the check box in B2, use =IF(NOT(B2),"",IF(C2="",NOW(),C2)) in C2. Ticking the box stamps the time and unticking clears it.
Does the timestamp clear if I delete the entry?
With =IF(B2="","",IF(C2="",NOW(),C2)) it does. To keep the first stamp even when the entry is cleared, use =IF(C2<>"",C2,IF(B2<>"",NOW(),"")).
Is iterative calculation safe to turn on?
It is safe for timestamp workbooks, but it stops Excel from warning you about accidental circular references, so avoid it in complex models where those would matter.
Can I make timestamps in Google Sheets?
Yes. Turn on iterative calculation under File, Settings, Calculation, and use the same formula.